Admin Control Panel

Posts Change Layout Sign Out

Dec 31, 2007

Oh Scrap!

My desk had reached a new low of clutter. A total mess. I've created a scrap box and been pretty good about tucking pieces in there, but there was also this other pile of designer paper that needed to be filed away. Big old mess.


I filed all the big pieces, cleaned up my 12x12 and also cleaned some stamps etc. Was doing well, but getting tired, and bored. Cleaning your desk is no fun, at least not for me.

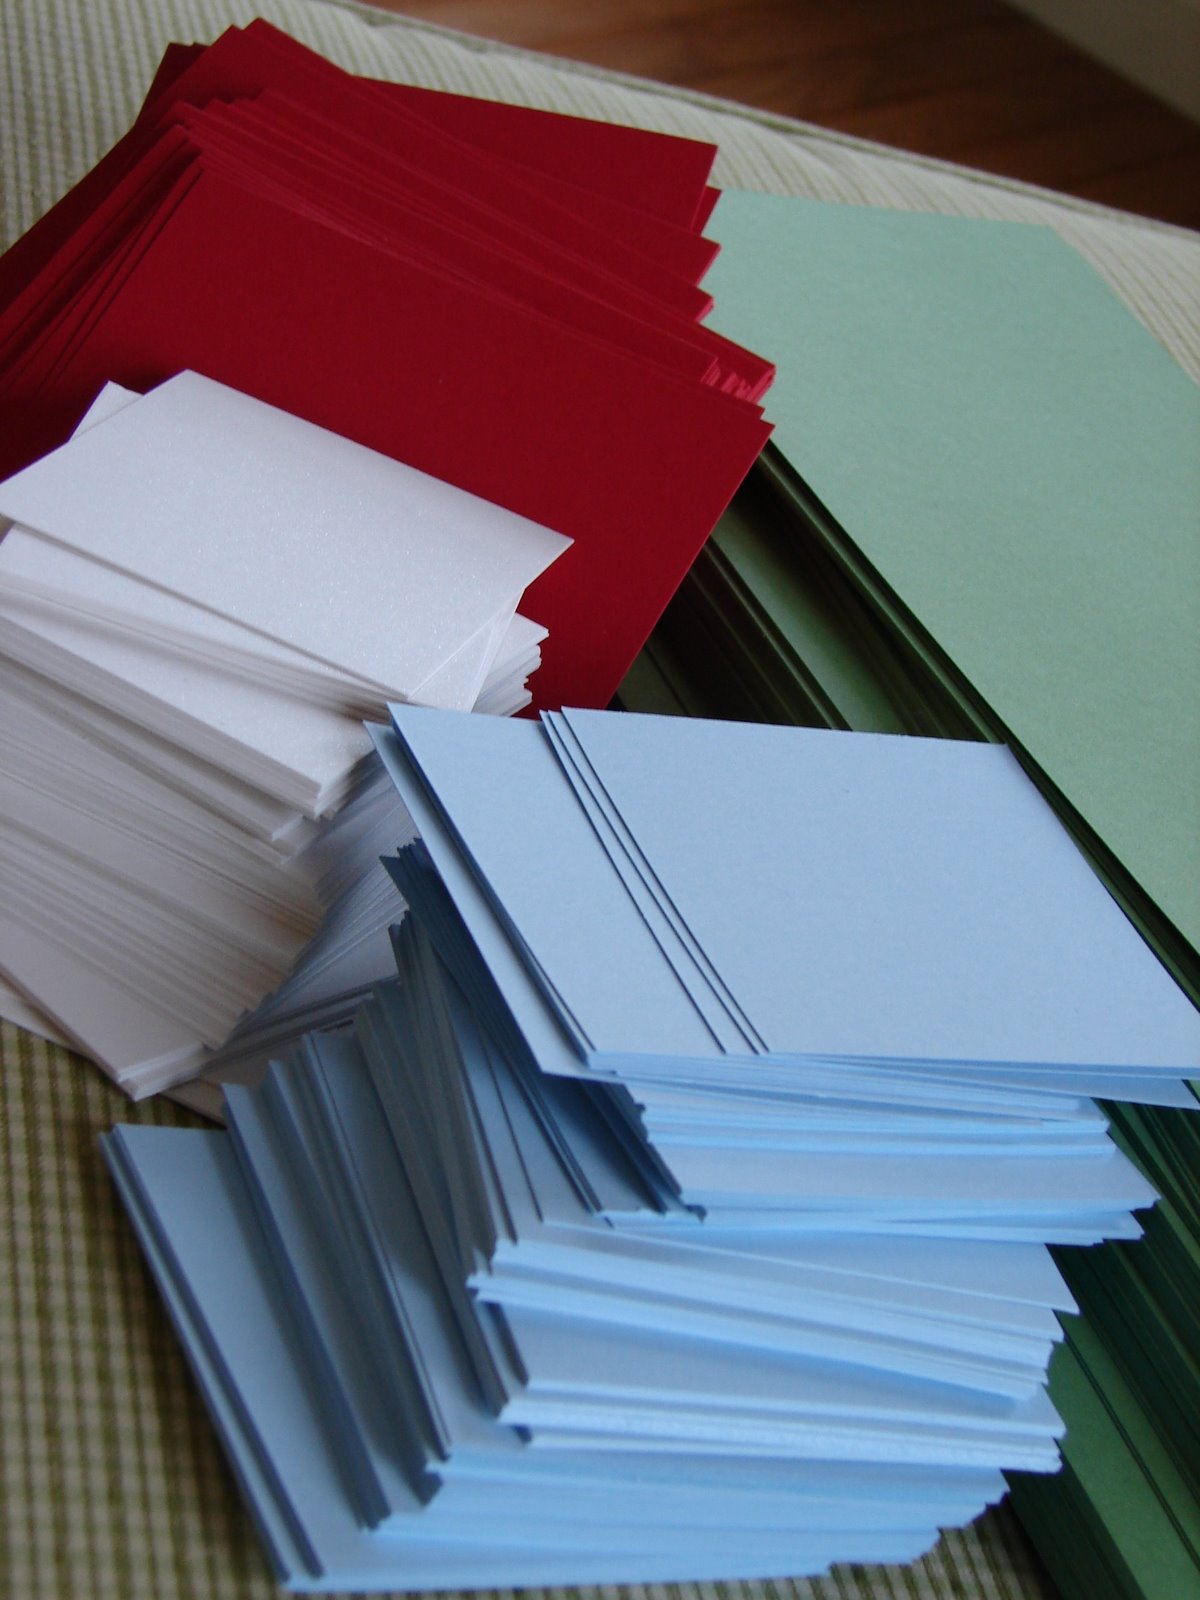
So, I started a scrap bag of things I didn't want to file anymore, but were too good to throw away. I figured, someone out there can use this stuff... I'm pretty bad at using up the scraps, but I know there are people out there that might find this useful. So, if its you. Let me know.


Bag o scraps goes to the first person that posts a comment to this post reading "I'll take that scrap!" be sure to include your email so I can contact you! Happy Scraps to you!

Do you groove on guava?


I have this friend that just doesn't like Groovy Guava, and I'm on a mission to convince her otherwise!!
I ordered "A Beautiful Thing" and the Ginger Blossom paper from Stampin Up's preview catalogue, but of course, haven't had a moment to play with it.


I finally got some time last night. At first again, wow, so creatively blocked and I just pushed paper around a while. Then, I remembered this beauty of a card from Mary Jo Albright and knew I needed one of those super floweriffic medallions she had made. I had the flowers layered and bradded already, but the scallop punch was just too big on its own.


To see how to turn your scallop into a starburst type shape, be sure to check out Beauty Lies Within- she amazes me daily!! What a clever idea! No wonder she's so frequently published in the SU publications, and was an artistan award winner, she's brilliant!

Dec 30, 2007

Oops! I forgot!!


I can't believe I forgot to ever post the finished product! I'm sure its been as crazy at all of your houses as its been at mine.


So, here is the final product. This is nowhere near as layered and complex as my usual cards, but come on, I made 130 of them! I had to streamline a bit. Even still 130 of these was a ton of work with the pointsetta cutting, ribbon tying and all the brads in the flower centers. But, it was worth it! I'll be doing it again next year I'm sure.


The boys are busy playing with all their new toys, and we still have so much de-cluttering to do. Its 10 and I'm still in my pj's today! I've got to get to the supermarket and we're having friends over later today... I've gotta get moving!
Have a great day everyone!

Dec 29, 2007

The Softness of Sky......

I'm going to be really, really sad when Soft Sky and River Rock retire this summer. I just love the look of them together, and they coordinate with just about every other color out there as well.


I had a belated wedding card and gift to deliver to my sister this week. This card was the first thing, non Christmas, that I'd made in a while. I'm embarrassed to say how long it took me to put this together, it was a while..... Just goes to prove that really, creativity is a muscle that needs regular workouts, and with all the craziness of this season, I just haven't had time.


To be honest, when I was finished, I wasn't even sure I liked it, but my husband did, and now as I look back on the photo, it came out nicely in the end. I love the effect of the Spica pen that I used all over the flourish and on all the white pieces of the flower from Baroque Motifs.


While I'm enjoying this week off, playing with all the kids new toys, and lots of family time, I'm also itchy for some stamp nights! I get so antsy when I don't have a little creative time each day! I'm so in a creative rut and finding it hard to get back into the swing of things. Once I'm back into daily stamping, I'm sure it will come easier and I'll have designs running through my brain again, I'm just not there yet.... bear with me!


Wishing you all a happy vacation and a happy and safe new years. 2007 for me was a truly amazing year, I can't wait to see what 2008 has in store!

Dec 28, 2007

Crayon Bundle Class

I've been working on my items for my monthly project class with my girls. I wanted to use the Happy Hearts Day that we were able to preorder from the new catalogue. I think its just so super cute.

Since I always try to show them something new, I wanted to try to focus on techniques with crayons.

This first, super fast card, uses my watercolor crayons to fill in the images. We'll be using a blender pen not only to smooth out the crayon to fill in the open spaces, but we'll use crayon directly on the blender pen tip to color in the teeny areas (like the mouse's sweater and the little flower.) I added a little border of scallops with my slit punch, then dry embossed each scallop with my crop o dile. The background was created by stamping the little flower image repeatedly, then I colored in each heart with my white gel pen, and added a brad to the center of the flower (I'll use my new red brads when they come in before the class!)

Then, to show the versatility of these crayons, we'll also be doing a crayon resist card. I've been wanting to try this, and this was the perfect excuse! On my last order I picked up some glossy white paper and the neutral crayon pack to try this out!


The borders were made with the slit punch and then the little butterfly image fits perfectly on the tag punch. The butterfly wings were colored in with my crayons, then bling'd up with a glue pen and dazzling diamonds.


The last project strays from using the crayons, but I couldn't resist making a treat topper with the cello bags for the last item. I needed my markers for this one so that I could ink up the pieces of the stamp individually. I used Regal Rose for the border and the hearts, then used Real Red for the sentiment.
I used my handheld punch to punch a small rectangle, then lined it up again and punched another just below it for a slightly larger opening since this grosgrain ribbon is too wide for the standard sized punch. Again, I used my slit punch to make a scalloped border, and this time used my crop o dile to make a little eyelet through each scallop instead of the dry embossing I used on the first card. Just a few small pieces of double stick tape to close the treats up inside.
So, using the items from the Valentines Bundle (Happy Heart Day stamp set, Real Red Wide Grosgrain, Medium Cello Bags and the Regal Rose wide grosgrain free with the bundled items!!) as well as a white gel pen, my handy SU crayons, slit punch and a crop o dile, I was able to come up with a few fun valentines ideas real quickly! I can't wait to see what everyone else comes up with!!

Dec 27, 2007

My Prettie Valentine

What I really should be doing is making and writing thank you notes...but I've had this stamp set, paper and idea on my mind.


This adorable set from MFT is the December stamp set at Paper Pretties for anyone that subscribes to the monthly card kits. This stamp set isn't even available at My Favorite Things yet!! How cool is that??


I bought this adorable Cosmo Cricket paper for a Valentines project, and you'll be seeing a lot of it! The image and sentiments are stamped in Pearlescent Chocolate Brilliance ink, then the main image was colored in with my Prismacolors and blended with gamsol and a stump.


I have purchased some Nestabilities at the Paper Pretties Corner Store. How FUN! This ran right through my cuttlebug and it was so easy! Eventually, I'll have the nesting squares for the inside, but for now I just measured and cut the right size paper on my own.

If you're interested in the Nestabilities, but can't afford to buy them all at once, you should consider the Nestabilities Now club over at Paper Pretties. It is a monthly subscription and you'll receive one set a month for six months. Personally, I love how easy they are to store (versus many big bulky punches!!) This club is an affordable way to add an great (and might I say hard to find!!) product to your collection.


In addition, subscribers have access to a monthly tutorial by my friend Charmaine for some fun ideas as to how to put the product to use!

Dec 20, 2007

Thank You!


Here is the Au Chocolat version of my double pocket cards I mentioned the other day. These were filled with Dunkin Donuts gift cards for teachers at the gym where both my sons take class.


I'd like to thank each and everyone of you for such a wonderful year. I've learned so much from all the blogs I read, made countless new friends, and really enjoyed writing daily. Your sweet comments always make my day.


Since my husband and I are both off work next week, there won't be too much blogging, if any, till after the new year.


Today, I'm cleaning and putting away all the clutter as we're having many of our friends and neighbors over for snacks, adult beverages and many laughs! Its so hard to clean up around here as the children are walking behind me making a mess all over again, but slowly, its getting there!


Wishing you all Happy Holidays, Merry Christmas and a Happy and Safe New Years.


Thanks for everything!

Dec 19, 2007

A "Prettie" Present


You may remember that my friend Charmaine recently had a baby boy. I'm amazed that as a mother of three very young children she's able to find time every day to be just SO creative.


In any case, all of the Prettie Girls created baby gifts for her using the Crate Paper Baby Bee paper from the Paper Pretties Corner store. Kristine posted her items yesterday and here's what I sent along.... I've been waiting to post till I knew she's received her box of goodies!

The little pail holds a cute little set of baby booties and a hat from the Amy Coe collection at Target. They're so soft! And a little matching burp cloth. I forget what else I tucked in there because it seems like ages ago!!


My favorite part of this project was the tag. I used my mat pack and paper piercer to do some faux stitching around the edge and then my distressing tool to soften the edges, and it came out so soft like a chenille blanket, I just loved the effect.
And I love using the twill tape for baby boy gifts. Its hard for me not to use ribbon on anything, but the twill tape has just the right masculine touch for me!

Dec 17, 2007

Wrappin It Up

The majority of my crafty time this weekend was allocated to wrapping gifts. It involves paper, so that's good, and checks a major to do off my list, which is also good, but really didn't fill my need to be creative. I'm not sure about you, but I get so antsy when I don't have time to create....


Last year, I had a pretty large stash of unused wrapping paper, so I didn't get to buy any new stuff... but after using it all up last year, I got to buy some new stuff this year! Imagine that, I love wrapping paper too! Look at the cute paper I picked up this year, isn't it FUN?


So, looking at all these red wrapped packages made me think of my cerise paper. So, I had a few (okay, more than a few) gift cards to package up, so what a good excuse to carve some stamp time out?


Tomorrow I'll have an Au Chocolat version of this little baby.... Just have to put some finishing touches on them tonight.


More errands, more shopping, etc!!
Have a verry merry day!


Dec 16, 2007

I'm Honored!


Can you even imagine my excitement yesterday when I received a personal email from Nichole Heady letting me know that she'd selected my monogrammed tote that I'd created for Julie Masse as one of her Honorable Mentions in her Guest Star Stamper program this month??! I was just blown away! The winners and the other honorable mentions were all fantastic, so I was so honored to have had my project picked!!


Be sure to check it out over at this link.


I was also so excited to be joined by some great company including my friend Charmaine as well as my new friend Carolyn that I met during the MFT Release party earlier this month.


Hope you're all having a wonderful weekend. Back to a seemingly never-ending pile of laundry and present wrapping!!

Dec 13, 2007

Flippin' Paper

I bought this delicious Webster's Paper when Verve Visual was having a sale just after Thanksgiving. And, I figured tick-tock, Christmas is coming I better dig in!

I loved that this paper included both elegant and more whimsical patterns. So to illustrate the variety in this paper, get this, these two cards are made out of the same paper, just flipped over!
They both use the same two pieces of designer paper, cut to exactly the same size for both cards. They both use a very vanilla card base and kraft matting, and they both use the vanilla wide width grosgrain ribbon. I switched out the stamps, but the paper for each card is identical! Just, flipped over! How cool is that??

The first card uses the more elegant side of the paper. I used my "Joy" stamp from my Stampin Up Illuminations set. I coved the "J" with my glue pen then adhered micro beads for some shine. Then, I went over all the scrollwork with my VersaMarker, then covered that with clear embossing powder and hit it with my heat gun for a shimmer all over effect.

The second card, the flip side, whimsical version, uses my Stampendous "JOY" stamp which I picked up at Eclectic Paperie. I stamped the image with Stazon then colored in with my prismacolors and blended with a stump.

Using nearly all the same supplies, could these cards be any more different? Which one is more your style? I'm torn!!

I'm signing off for the weekend. Christmas cards are finally postal, and I'll share a photo with you on Monday! Lots of presents to wrap, a few more to buy and even more to make!! I'm also hoping to spend a lot of time playing with my little ones in all the snow we got today!

Wishing you all a happy and safe weekend and see you next week!!

Dec 12, 2007

Gift Set for Molly

Have I mentioned that I love Scenic Route paper? I seem to make a bee line for it now every time I go into my local scrapbooking store.

This is a gift set that I put together for my brother's girlfriend. She's really the cutest. (Hi Molly, I know you're out there!)

This is a Leslie Miller tote - which I'm totally fascinated with making by the way and a matching double pocket card to match. The front pocket contained a gift certificate to one of our favorite stores, lululemon athletica, and I turned the tag into a bookmark. This paper makes me just SO happy.

Here's a quick photo of the four matching thank you notes inside the purse.

Last night I cranked out several more Christmas cards, looked up some missing addresses, and was ready to wrap it up.

However, as I put the finishing touches on the last few cards, my sweet husband said "Okay, I have some additions to the list, how many more can you make...." I wasn't sure whether to scream or cry, but I bit my lip and said. "Um. How many more do you need?"

So, looks like I have at least one more night of Christmas card making before I can move on to the presents I'm making, and some projects that have been on my mind.....

Dec 11, 2007

Stamp Saga and More Tags

So, as it turns out, no dice on the standard postage on my cards. The extra postage went on as soon as I heard the guy say "These will get ripped apart!"

RIPPED APART? My eyes nearly bulged out of my head and I quickly said "I need the 58 cent stamps! One hundred of them!"

Monday night I applied the stamps to the first wave of mailing, and readied the remaining cards in preparation for the arrival of my replacement wild wasabi ribbon later this week. I'm hoping to have everything ready to tie ribbon and get those babies out the door!

Today I have two more tags for you. One is created for my five year old, its the Cerise Paper one with the Santa on front. He helped me pick out what he wanted on his tag.

The other one uses my "Baby Its Cold Outside" MFT stamp set that I received as part of my Paper Pretties kit. I've been loving playing with this set. Its SO super cute. It is watercolored with reinkers on shimmery white paper and then some dazzling diamonds for fresh snow. (Are you tired of all my watercoloring-ness lately... I'm having such fun with it...)

I'm sorry that my posts lately haven't been chock full of new goodness. 'Tis the season of mass production, and the Christmas cards have been taking up the majority of my time. Hope you all aren't bored with me and will be back for more!!

But, I promise, many more new, good things to come my friends. Its all in my head, I just need to find some time to get it onto ink and paper!

In fact, guess what package is arriving tomorrow? My SU Spring-Summer Catalogue Preview goodies! I can't even stand it!! So excited!

Dec 10, 2007

Pile O Presents

I've been dying to get a chance to play with this stamp from Gina K. It waited patiently in line behind those Christmas cards of mine!

Its such a pretty image, perfect for my new favorite past-time watercoloring! This could be used for a birthday card with a happy birthday sentiment, but this time, I went for a big old pile of Christmas presents! I used watercolor paper with Mellow Moss and Ruby Red ink for this project, and finished off all the bows with my Sakura Stardust pen.

I used to have some Mellow Moss taffeta ribbon around here somewhere, but naptime isn't the time to fool around...its the time to make quick work! So, I subbed in some of the Kraft Taffeta ribbon which worked very nicely as well.

This gorgeous paper is Webster's Pages that I picked up at Verve Visual when Julee did a sale on Thanksgiving weekend. This paper is so rich!

I loved that the piece I selected for this card had a nice little empty space for me to tuck my sentiment into. How CONVENIENT!! I added an antique brad through the little snowflake for a little touch of detail.

I love wrapping the presents and tucking them under the tree, but really I think that is just too much to expect for my little one (2.5 years old) to not dig right in. So while I love watching the present pile grow under the tree, I'd rather not battle with the little guy for the next 15 days about when we can open the presents.

Eeeks!!!! FIFTEEN DAYS?

Tag It!


Although I was thrilled to make so much progress on my Christmas cards, I have to admit to being itchy to work on something NEW!

Sunday morning I got a headstart on wrapping up some Christmas gifts. While doing that, I got totally sidetracked because I decided I needed to make some fun tags to go with them. I was inspired by Heather Nichols cute tags on this post here.

I've been hoarding some really great designer paper and its about time I dig into the stash. These were a lot of fun to make. I'll have two more to show tomorrow - I've got to finish them up tonight.

Assorted ribbons, designer papers from Basic Grey Figgy Pudding, and my jumbo eyelets were set with the help of my crop o dile. The teeny tag part is from Perfect Presentation and I used the tag corner punch and a small handheld punch to turn it into a tag for the tag!

A hurried post today - lots to do - but if anyone needs the details, just let me know!

Going Postal!

I have been working feverishly on my Christmas cards all weekend. I have around 80 of them done -some are local deliveries to the neighborhood, and the balance will be going to the post office today!

I have the pieces ready for the rest of the cards, but I'm awaiting the arrival of more Wild Wasabi double stitched ribbon to finish them up.

Here's a little sneak peak

I'm worried that with the ribbon and bradded flowers, the cards will need the additional 17 cents postage. Say a prayer for me when I bring a sample in to see the postman that they just register as a normal sized piece of mail!!


I'll post the card itself a week from today!

Dec 9, 2007

If you like to eat....

....then surf on over to Finder's Eaters. My friend Brooke, from way, way back... started this blog/website to help bring you the finest foods from artisan providers. She has Finders that work for her to bring you the very best selections in each category chocolate, cheese, sweet and savory. My dear friend Jen works for her as a finder. I mean, really, what an amazing job is that?

I just surfed over to see what the goods are and YUM. Christmas Cookies. Oh deliciousness. Cracks me up that they're from a company called "Bite Me." If sweet's not your thing, the savory selection is a Spicy Six pack of assorted hot sauces.

If you're looking for a gift for that hard to buy for person (and who doesn't have at least ONE of those people on their list??) you could even select a monthly club where they'll receive delectable goodies from you for however many months you choose.

Surf on over, and be sure to tell them who sent you!

Dec 7, 2007

Getting Anxious?

Last night, after stamp club, I decided to take 45 minutes to work on Christmas cards. I got such a laugh yesterday, one of you is apparently very anxious to see the final product.....because this was the comment I received yesterday:

Anonymous said...
WHAT DOES THIS LOOK LIKE FINISHED??

However, I can't show the full card here till my family and friends get them, or it sorta ruins the surprise! Hope you all understand. wink!

I've been posting the progress to show you all that it isn't really all that hard to make the cards on your own, and if you just carve out a little time each day, you'll be amazed with the progress you can make.

Last night, I assembled the shimmery white flourishes onto their bashful blue mats. Then I worked on attaching brads through the pointsettas. I still have MANY more pointsettas to cut, clearly the most time consuming portion of this product, but you know me, I think the little touches make all the difference.

I also figured out where, and how, I'll insert the photograph of my boys. I'll be using the SU slot punch on the bottom and right hand side of the inside of the card to hold the photo in place. That way, anyone that wants to remove the photo from the card can do so easily, with no sticky adhesive mess to deal with.


Tonight, I'll start stamping the greeting on each of the base cards, stamping my "stamped by Joanne" onto the back, and I'll double slot punch everything to make room for the photo. That's going to be a lot of stamping for 130 cards, but at least I can watch a movie while I do that!! Time consuming, but at least pretty mindless......

Have a great weekend, and see you Monday!

Dec 6, 2007

Who Says?

Who says you can use a dinosaur for a little girl card? Of course, it has to be the RIGHT little girl, but lucky for me, I know just the girl.

Last night, I attended the MFT Cocktail party over on the SCS Forum. It was SO fun. I got to chat with some of the most talented designers, signed myself up to read some more blogs, and had quite a few laughs. My dear husband just didn't get it. I was hitting the F5 key constantly to refresh and still had a hard time keeping up. So fun, I already can't wait for the next one.

Of course, he got tired of the party before I did and I had to sign off early. However, somehow I did come back down later that night and scoff myself one of the new releases "Rain or Shine" as I was so afraid they'd sell out! Uber sneaky of me. Whoops.

Kim, if you're out there, can I had SUCH a good time, thanks for hosting, and thanks for for making yourself SO available to all of us! You have an amazing team, the products are brilliant and I had such fun creating this little number today! Can't wait to get my new stamps to play! This little set makes a rainy day look cheery and fun!

Okay, now back to the card. This was designed first as an ATC using my new favorite, Scenic Route paper that I've got tucked aside for a upcoming special project. I had to dig into it a little, I couldn't help myself any longer.

I used my tricky - two scalloped punches to make a scalloped rectangle for the matting for Miss Dino. She was stamped with Stazon onto Shimmery White paper and then watercolored with ink from Soft Sky, Certainly Celery, Pixie Pink and Pretty in pink pads.

A quick touch of Stickles on her hat and the coordinating cupcake. Watercoloring is my new favorite technique, I love the effect and it looks especially cool on the shimmery white!

The card itself is 5 1/4 square piece of Bazill paper Berrylicious with some of the Scenic Route paper asmat. The band across the middle has been set with two of the SU jumbo eyelets using my Crop O Dile. So handy that thing!!
Have a great day everyone, I've got my stamp club girls coming tonight and I can hardly wait.

Dec 5, 2007

Cards

Last night, I learned that the scoring blade I bought doesn't fit my Carl. Bummer. Not sure if my model doesn't accept them, or if I bought the wrong one. Oh well. No time to waste, no need to stress. Keep moving...

So, I quickly scored all the main cardstock (HOORAY!) and tonight I'll begin the actual assembly. Envelopes arrived from SU yesterday. Hopefully I can finalize the list and get labels done and begin mailing my first batch by Monday night?

For Jules....

Our latest Prettie Girl challenge for the Paper Pretties Design Team, was to create a monogrammed item for another girl on the team. This week, my creation is going to Julie Masse. It should be arriving in her mailbox today!!

I used two of the four new releases from Paper Trey Ink. Spiral Bouquet and the Ambassador Monogram. I WISH I had also purchased the Borders and Corners monogram set...that would have truly been the finishing touch...
This tote pattern is from Leslie Miller's blog "Running with Scissors." I've made them here before and I just love them. The more you make, the faster you're able to put them together.
I started with Very Vanilla paper and stamped the large solid flower bloom with Poppy colored Brilliance Ink, then stamped the coordinating large spiral sized bloom with the Coffee Bean Brilliance Ink. I then added the swirly stems using my Dew Drop Brilliance Pad in Spanish Olive. Then I set it all aside to dry and moved onto the next step.
The tote base is Always Artichoke. I got that all scored up while I waited for the ink to dry.
I wanted a contrasting band... which I decided I could make a coordinating ivy pattern using only the different sized stems. Since the stamps are clear, its easy to add little branches to the main sized stem -there are lots of different sized options. This was so fun to do!
I added a quick river rock mat to tie in the River Rock Double stitched ribbon which I wanted to use for my handles.
The note cards made with an Always Artichoke base with an ivory note, and a 1/2 inch band of ivory which I added the smallest size bloom. Finished off with the Ambassador Monogram "J" for Julie within a 1" circle punch! The monogram is then matted with a 1 1/4 ruby red and 1 3/8 sized always artichoke circle and popped up on a dimensional.

This was SUCH a fun project to make, and I hope Julie enjoys it.
We're taking a brief hiatus from our Wednesday challenges as we all have so much going on for the holidays. But, we'll be back with new challenges for the new year! Be sure to blurf around to all the other Prettie Girl blogs (see the links on my sidebar) to see what they're up to.
Trust me when I tell you there will be lots of Prettie Girl goodness to come!

Dec 4, 2007

Elzy's In the House

I tried to hold out. I really did. But being friends with Julie Masse is dangerous for me. Or, should I say, for my wallet. I caved. I bought some Elzybells. But I was good. I purchased only one Elzy, one sentiment and the little snowflake. The rest of them are on my Christmas List.

Paper in hand, stamps in hand, I just needed a sketch. Jen Del Muro runs a Sketch for You to Try over the weekends and I loved hers this weekend.

The card is a Kraft base, and the designer paper is Love Elsie. I used the Noel Quilted and Noel Doodle papers.
The little skater is stamped on Shimmery White with stazon and then aquapainted with Regal Rose reinker.
I created a little ice for her to skate on using my flat watercolor brush and some soft sky ink. Its very subtle... you probably can't even see it here??
A little "smile" is tucked in the corner. Its from Paper Trey ink.

I love any chance to use my Crop O Dile and I used that to set three little eyelets on the band across the front of the card.
Quick, cute and easy. By now, you know that's my favorite.
Off to clean dishes, which is NOT my favorite.

So, you wanna know?

About my camera? Liz asked what I'm using to take my shots.... I have a Sony Super Steady Shot that my husband purchased for me after our old camera took a swim in a koi pond in Hawaii. You can't imagine how much I love this camera. Its quick, its light and I've had really great results with it.

As for HOW I take my pictures, I've been using only natural light. No flash. That seems to make all the difference. And, I like having the environment of my living room surrounding the photos. Great colors in that room, the walls are yellow, so they reflect a lot of light. I love the soft green in the couch too.

However, now that its winter, the days aren't so bright all the time, and I'm hoping that Santa brings me a little light box so that I can continue to take good pictures even on grey days. Seems a shame to have cards I love and want to share and crummy pictures!!

Dec 3, 2007

Baby Boxes.....

You've seen a similar project from me before, but goodness do they ever look so cute all together! A friend was looking for a baby shower favor and loved the tiny takeout boxes I made for my sister's bridal shower.

I did teach these at one of my very first project classes, but for the actual baby shower, I changed the palette to make them more babyish. They are filled with pink, blue and ivory M&M's. I randomly colored in some of the stars with my so saffron crayon.

I made 35 of these teeny takeout boxes over the last week for my friend. The giraffe is from "Bundle of Joy" which sadly appeared on the retiring list. I'm so bummed, I LOVE that set.

The giraffe was stamped with Timber Brown stazon ink and then punched with my small tag punch, then colored in with my SU watercolor crayons and blended with a blender pen. Layered onto a larger tag punch either certainly celery or so saffron. I tied a small piece of hemp twine to each tag and then tied the tags to the boxes using certainly celery grosgrain ribbon.

Again, this is another project that I made a little bit at a time. One night the tags, one night tied the hemp twine onto the tags, one night stamped the boxes and last night I filled the boxes and tied on the tags and ribbon.
Edited to add: When I'm doing a mass production production project like this, I like to keep things quick and simple. In this case, I used the SU Tiny Takeout and Tags kits. They are diecut sheets of boxes. I just ran over the box with my Jumbo Wheel "Sweet Stars" and then filled in a few stars here and there with crayon folded on the score lines and folded it into a box. Quick, easy and cute!

Have a great day everyone!

Snip Snip Here... Snip Snip There


Last night I sat and watched Desperate Housewives (yikes! Can you even believe it?? If you saw it, you know what I mean!!) and that crazy show after it, you know the Calista Flockhart one.... and cut out pointsettas till my hands hurt. Then I took from that and moved on to tying ribbon onto my base mats for my Christmas cards.


I also stamped flourishes from "Season of Joy" by Stampin Up onto Shimmery White paper and I did finish all of those. I'm about halfway done with the ribbon tying, and about halfway through the pointsettas. My estimates were off though on the ribbon, I'm going to need another roll. Rats.

The good news is that my scoring blade comes tomorrow and then I can get started with assembly now that I have so many of the elements completed. I'm still a WAYS off from completed cards, but I feel better with having at least made a dent in the project. It isn't so scary once you get started....

Dec 2, 2007

Card Progress

Yesterday (thanks to my sister who purchased me a Carl cutter for my birthday) I was able to cut ALL the paper I need for my Christmas Cards! YEAH!

Then, I realized that the Carl Cutter has a scoring blade! Wow. It was only $11 at Staples and they will deliver it to my home - for free! On Tuesday. I'll zip all that carstock through the Carl and shabang! Another step closer to finished cards.


Today, I'm going to continue the mass stamping of pointsettas and the hand trimming. Bummer that I didn't find an image that I could use a punch on. That would have been sooo much easier. But you know me, I always seem to find a way to make my life a little more complex than need be!
Oh, man. I designed Christmas cards for my friend, and loyal reader Liz. And - eeks, hers are just as complicated as mine! Sorry LIZ! But, they'll be beauteous I'm sure!

Have a great day!

A Lot Like Christmas

Last Saturday the boys and I decorated the tree while my husband raked up leaves. My two year old is absolutely fascinated with the three and every night yells "Good Night Christmas Tree" and insists that the lights be turned on all day, not just at night.

Our favorite new game is "Who Can Find." My husband and I get to sit on the couch and the boys have to find the ornaments that we mention "Snowman, Star, Baby Jesus, Angel" it keeps them occupied for way longer than I could ever have imagined. And I get to put my feet up for a change, which is nice.

We bought an artificial tree last year. I've never been a big fan, but with a house full of kids, I was worried having a real one getting old and dry and flammable! It was great, we put it together in under 15 minutes and without any fights about the lights, and no mess to clean up.

I'm sure you all have your favorite ornaments, or ornaments that remind you of special people and/or occasions in your life.

I have quite the collection of snowmen ornaments - I just love them, I can't help myself.

I also have several miniature lightship baskets that I bought at my favorite candy store on Nantucket.
Then, there are, of course, the special ones that we hang up high away from reaching hands.

We started a tradition a few years ago that my oldest goes to a pottery place and makes ornaments for his grandmothers and his godmother. I have one of those ornaments on the tree here as well.

Last week we went to the studio and painted a few it was amazing to see how much his painting has improved since last year. He was able to complete his project with little assistance from me and added lots of details to his pieces.
Little Man is a bit too antsy to paint this year, he'll literally be a bull in a china shop, but next year he should be good!

Dec 1, 2007

SU's Retiring List is Here.

I can't believe its this time already! The retiring list from SU is now available. All these items will be available until the end of the month.

The retiring accessories will be announced on the 10th, and those items will strictly be while supplies last (and those items can move FAST!)

Please see this link to read the retiring list. Some of my favorites are on here, the Linen Background, By Land, All About You and Bundle of Joy (so SAD to see that one go!)

If you don't already have an SU demo and you're interested in placing an order please contact me at basilefamily@comcast.net or post a comment here with your email and I'll contact you!

December 1st and Seriously Behind Schedule

Wow. I am so behind on my Christmas Card project. Eeks.
But I'm determined to get on track this weekend.

Last night I stamped and trimmed out pointsettas for the first 30 cards. Its a good start, but I've got to crank it up as I usually send out 120+ cards!! I'm going to sit and stamp enough for the rest of the cards and then I can trim them as I have moments here and there.


I also vow to cut all the paper this weekend - not such a bad chore since my darling sister bought a Carl Cutter for me so I should be able to zip through that easily enough.

I also have to get the photo of my boys printed. I usually spend a lot of time agonizing about that photo, right clothes, good smiles, eyes right on the camera. Well, my two year old is all about teaching ME a lesson rather than the other way around. So, this year, I'm not agonizing. I have a photo that I like - and I'm moving forward.

If I make 10+ cards each night I'll be done in about a week and a half. Not so bad. I did keep them simple enough that its achievable. I can't show you the card - that would spoil the surprise, but I'll give you snippets here and there of what I'm up to, and then I'll post the finished card just before Christmas.

If you're making holiday cards this year, I'd love to hear where you're at. If you'd like to make them, but worried about how much work it is, just divide that job up into little chunks and start moving forward. Even if you don't do your WHOLE list with hand made cards, pick a group of people that would appreciate your work and get those into the works.

Yes its work, but for me, a true labor of love. Have a great weekend everyone, I'm off to cut paper. I'll be back on Monday with a shot of my progress.


This blog has been Tweaked and Designed by Sara Williams | Powered by Blogger | Back to Top

Pin It button on image hover