


And, Beate is really just about the sweetest person you'd ever meet, so if she asks you to do anything... the answer is quite obviously "Of COURSE!"
That being said, I'm not a scrapbooker. So I was a *little* afraid (okay, honestly more than a little afraid....) when she asked if I'd write a tutorial on creating a paper bag mini book. But Of COURSE! As it turns, out, I'm SO glad she asked me to do this, because it was a fabulous project.
Ordinarily, I don't buy a lot of alterables, because really, they're expensive, and what if I mess up? ...scary.... so this was just my kind of project. It is made from brown paper lunch bags. You know the kind that cost you like a dollar for a hundred of them....
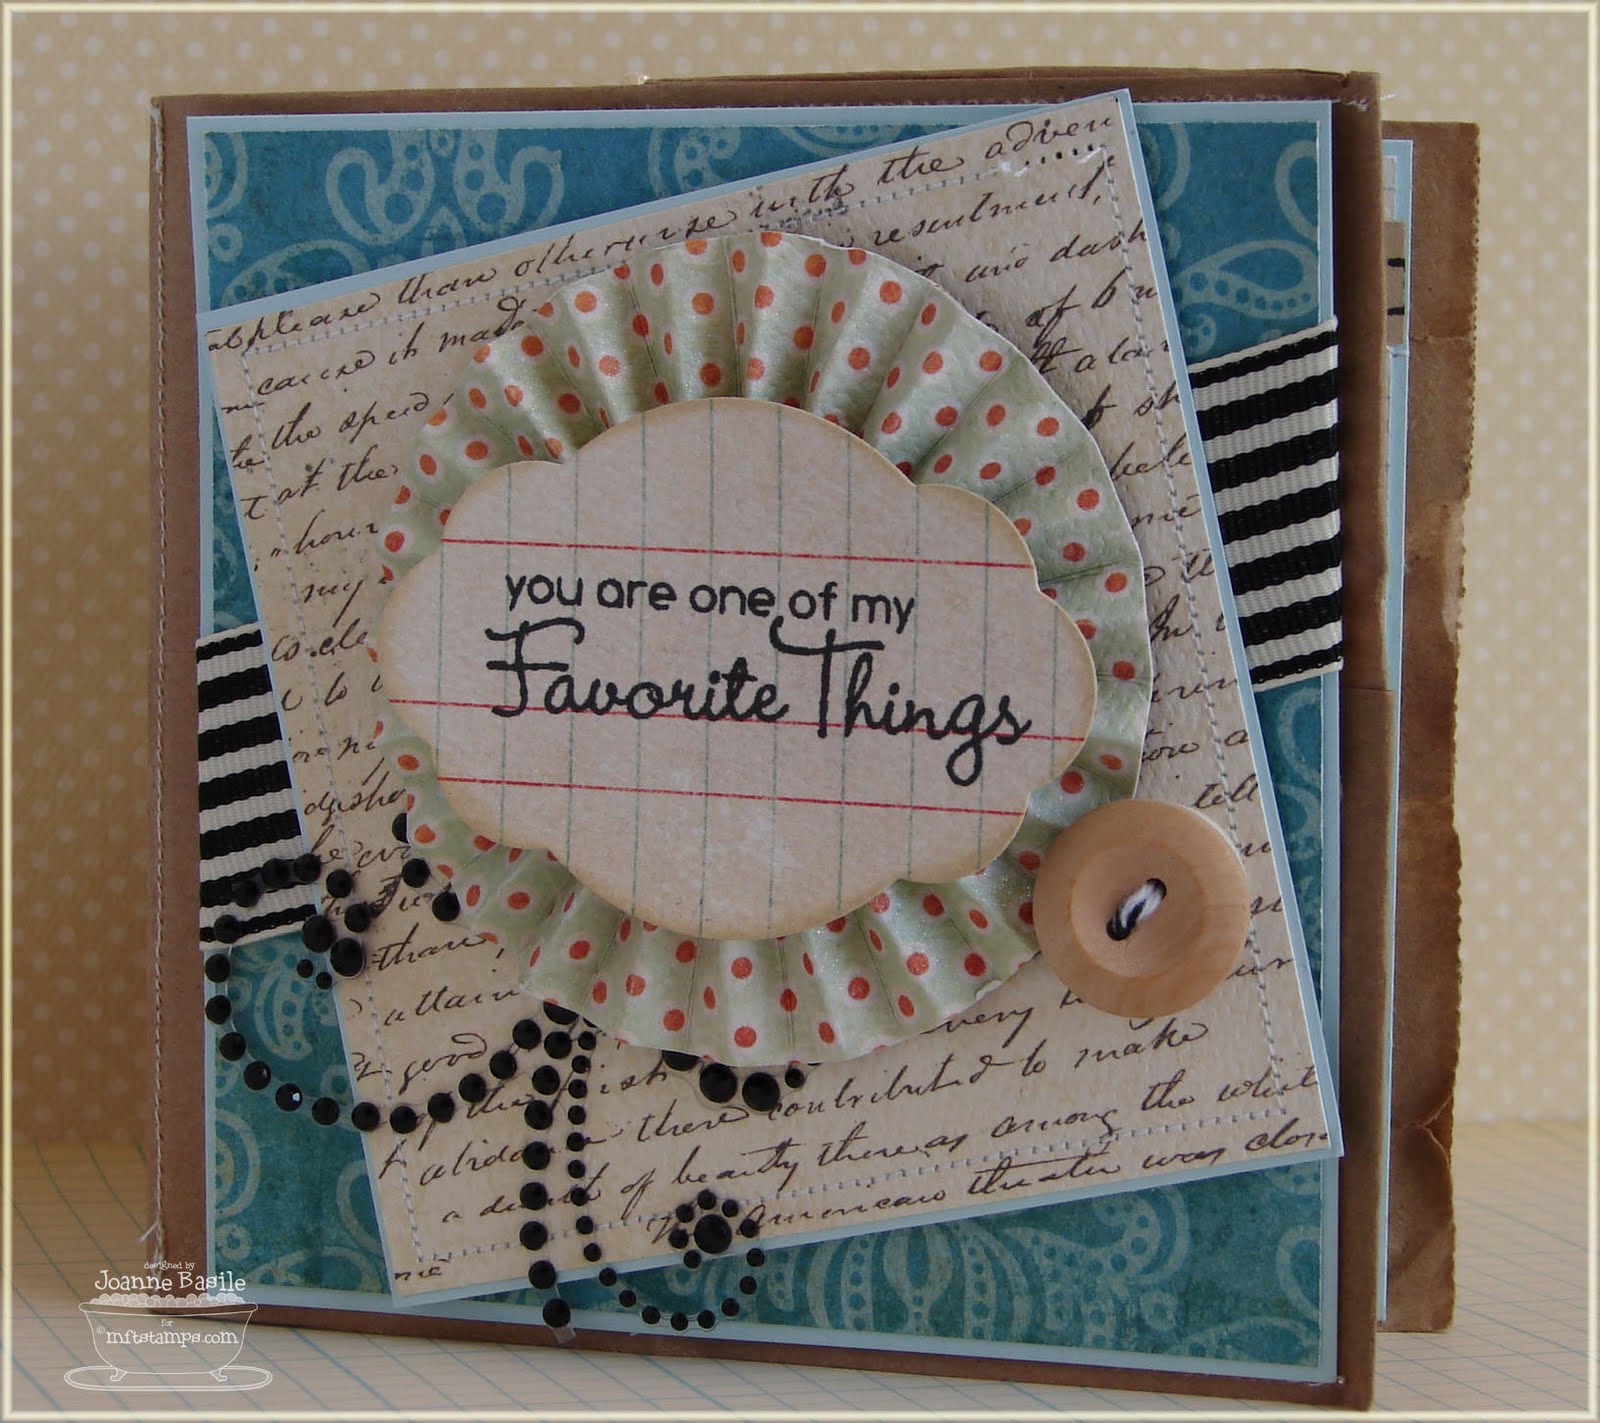
I grabbed lots of my new favorite paper, all my favorite Die-namics Dies and some of my favorite embellies, and got to work.... The cover uses the Framed Greetings Stamp set the Sweet Stack Die-namics and the 1/4 Rosette Die-namics
The neat thing about making these books is that the bag bottoms, and bag tops turn into little pockets. You'll learn all about how to do that in my video tutorial (below) But how about a look at how the pages came out?

I made the book for my friend Kim. You all know her as "The MFT Lady." This first page has a little journaling pocket where she can tuck in a note. Maybe it will be a funny story from one of our shows. Or maybe I'll write a funny note about how she orders like Sally (you know....from when Harry Met Sally) when we go out to eat. *giggle*
Stamps here are from Own Your Story from MFT. I've used the Little Open Scallop Strip and the Die-namics Hearts a Plenty.

Here's a page I made with a photo of us from CHA last summer in Chicago. I've used the Own Your Story stamp set again on this left hand pocket, along with the Four Point Frame Die-namic. I've added a bit of Simply Scallops Die-namic trim inside the pocket too. The pocket is holding a small tag that I've covered in canvas and stamped on too. The right hand page has a trio of the Pretty Posies Die-namics. (See they're clustered together on the canvas tag topper too....) I spelled out my sentiment using the fabulous Typewriter Alphabet. That striped scalloped piece is the Small Scallop Strip Die-namic.

Here's another fun little pocket that you get when making a paper bag book. The bag openings are a great place to tuck mementos, notes, ticket stubs etc. I slid in a little journaling card created with the ledger stamp from Own Your Story, along with the Open Scallop Doily.
 And another spread with photos of friends of ours from "stampland" that's Kim with Carolyn King and a sentiment from the Polka Dot Greetings stamp set and Die-namics die. On the right hand side, is a photo of Kim with Lori Craig and Alma a.k.a Miss Meowy from The Cat's Pajamas. I used the Typewriter Alphabet to add the caption "stampers ink" where they all met up for a class and make and take last spring!
Here's another of those fun pockets, filled with a canvas covered tag and a sentiment from Own Your Story and a dimensional butterfly that I created with the Die-namics Butterflies die. The last page is blank saved for one of our good friends (that's you Jody). You can bet I'll be snagging one of her and Kim together at CHA this summer!
All the tips and tricks for how to make the base of the book from the paper bags, and how to create the little bottom flap pockets are on the video tutorial below. The step by step tutorial will be available on the HERE on Splitcoast Stampers.
Enjoy and please drop me a note if you have *any* questions! The video shows up *tiny* here, but you can also watch it on YouTube HERE.


6 Comments Post a Comment:
I your take on this paper bag mini...very cute. I am also in the process of making one. We will see how it turns out...almost done with it. I am now a follower of your blog. Found you on FB through splitcoast stampers. Love your creations...you can also visit me @ http://scrappinlilscreativeside.blogspot.com/ ..TFS
I just saw this over at SCS... it's SO great. I haven't made one of these in a long time -- now I'm inspired. :)
turned out FANTASTIC Jo!!! LOVE IT!!!
What a great job you did. So many adorable/personal touches. Very special.
This is such a gorgeous project!! I love your album!!
Awesome, Joanne. LOVE it. Well done. You do the BEST tutorials!!!
Post a Comment